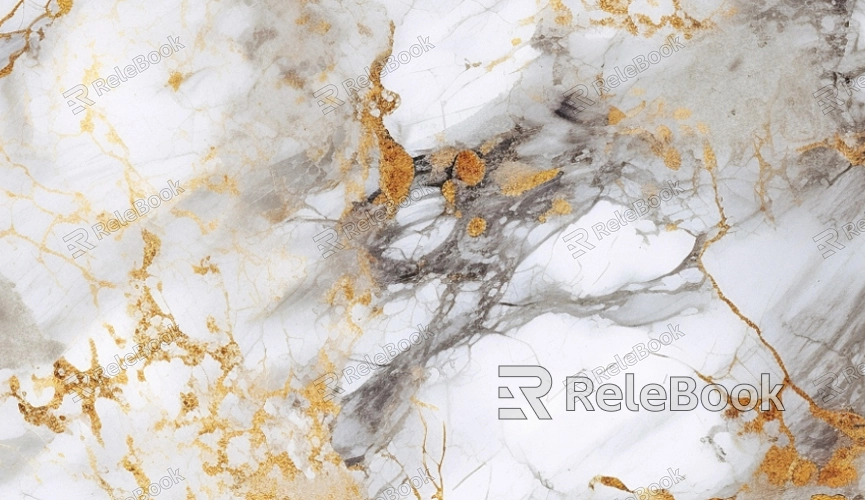
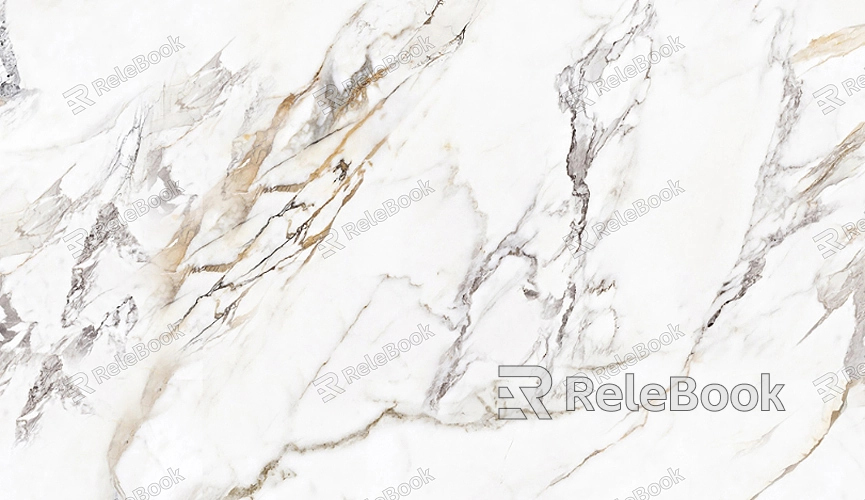
How to Make Marble Texture in GIMP?
Creating realistic marble textures is a rewarding process, especially when using software like GIMP, a powerful and free alternative to expensive design tools. While many may associate marble textures with expensive, intricate designs, replicating them is both cost-effective and easy with the right tools and techniques. In this article, we will walk through the step-by-step process of creating a convincing marble texture in GIMP, explore various methods to refine it, and answer common questions about the process.

Setting Up Your GIMP Workspace
Before diving into creating your marble texture, it’s important to ensure that your GIMP workspace is set up correctly. Open GIMP and create a new file with the appropriate dimensions for your project. You can choose a square or rectangular canvas depending on the size and orientation of the texture you need. Setting up your canvas before starting will save time later, and it’s always a good idea to plan for the size requirements in your final project.
Once you have your workspace ready, you should also familiarize yourself with some basic GIMP tools that will be vital during the creation process. The brush tool, gradients, noise filters, and layer blending modes are just a few of the essential functions that you will be utilizing.
Creating the Base Texture with Noise
A critical element of marble is the natural randomness of its veining. GIMP provides a simple way to introduce randomness into your texture by using the noise filter. Begin by filling your canvas with a solid color that serves as the base color for your marble texture. Light grays, whites, or even soft beiges are typical marble base colors, though you can adjust this to suit your needs.
Once the base color is applied, go to Filters > Noise > RGB Noise. This noise will act as the random foundation for your marble’s veins. Play with the settings to create a subtle random texture with a slight variance in brightness. The goal is to introduce some irregularity without making it overly harsh.

Adding Marble Veins Using the Clouds Filter
One of the defining features of marble is the veining that runs through the stone. In GIMP, the Render > Noise > Solid Noise function can mimic this effect effectively. To do this, select a darker or lighter color than your base layer to represent the veins of the marble.
After selecting the color for your veins, go to Filters > Render > Noise > Solid Noise. This generates a cloud-like noise pattern that you can tweak to resemble the marble veins. Set the noise to be more irregular by adjusting the turbulence, and use the Displace option to give the veins an organic, flowing appearance.
Once the veins are created, you can adjust the layer opacity, blur them slightly, or use the Smudge Tool to refine the transitions between the veins and the base texture, ensuring they blend smoothly into the background.
Refining the Texture with Layer-Blending Modes
To make your marble texture look more realistic, you’ll need to refine the veins and add more depth to the texture. GIMP offers various layer blending modes that help achieve this effect. Experimenting with modes such as Overlay, Soft Light, or Multiply allows the veins to blend with the base texture more naturally. These modes will give the veins a translucent quality that mirrors how real marble looks when light passes through it.
Adjust the opacity of the vein layer to control how pronounced or subtle the veins appear. You can also duplicate the vein layer and apply different blending modes to each duplicate for added complexity.
Adding Detail with Color Variations
While classic marble textures are often dominated by whites and greys, real marble can have subtle hints of color such as beige, green, or even blue. To incorporate these variations, you can add new layers in different colors and apply them in the same manner as the vein layer. For example, create a new layer and paint soft streaks of color across the canvas. You can experiment with gradient mapping to introduce subtle gradients of color, or you can use layer masks to ensure the color only applies to specific areas.
Color variation will help break up the monotony of your marble texture and give it more depth and visual interest.
Applying a Bump Map for Depth and Texture
To enhance the realism of your marble texture, adding a bump map can simulate the depth and surface irregularities found in real marble. A bump map uses grayscale data to create the illusion of 3D depth. GIMP allows you to easily generate bump maps from your texture.
Select your completed texture layer and navigate to Filters > Map > Bump Map. Choose a layer that represents the veins and noise patterns as the bump map, and adjust the depth to your liking. A subtle bump map effect can add a tactile quality to the texture, making it look more realistic and lifelike.
Fine-Tuning and Final Adjustments
After the main texture and bump map have been applied, it’s time to make final adjustments. Zoom in on your marble texture and look for areas that need more contrast, color variation, or smoother transitions. You can further adjust the layers by adding more noise, changing opacity, or applying additional filters to achieve the desired look.
It’s also a good idea to adjust the sharpness of the texture to ensure the veins and details are clear. This can be done using Filters > Enhance > Sharpen or adjusting the contrast to bring out details that may have been muted during the previous steps.
Saving and Exporting Your Marble Texture
Once you're satisfied with your marble texture, it’s time to save and export it. You can save your work as a GIMP project file (*.XCF) for future editing or export it in a standard image format like PNG or JPEG for use in other projects. Ensure that you export the texture at the desired resolution, especially if it will be used in 3D modeling or large-scale prints.
Creating marble textures in GIMP is a fun and rewarding process that allows you to incorporate realistic stone effects into your designs. By using filters, layer blending modes, and subtle color variations, you can achieve a wide range of marble types and styles. Remember to keep experimenting with different settings to find the perfect balance between realism and artistic expression. Once you've mastered the technique, you can download 3D models and textures from Relebook to enhance your projects further.
FAQ
Can I create a marble texture in GIMP without using the noise filter?
Yes, it’s possible to create a marble texture without relying on the noise filter. You can instead use the Clouds filter to generate random patterns and mix in solid colors and gradients manually. However, the noise filter is one of the easiest ways to introduce randomness and realism into the texture.
How can I make my marble texture look more realistic?
To make your texture more realistic, consider adding more layers for color variation, adjusting the bump map for depth, and refining the veins with smudging and blending modes. Adding subtle details like scratches or imperfections can also help improve the realism.
Can I use my marble texture for 3D projects?
Yes, you can use the marble texture in 3D projects. When exporting, ensure that the resolution is high enough for your 3D model, and consider creating a normal map or bump map to give the surface texture additional depth.
How do I create different types of marble textures (e.g., black marble, white marble)?
The process remains largely the same, but you can experiment with different base colors, such as darker greys or black for black marble, or use other colors for more exotic varieties. Adjust the veins' contrast, colors, and blending modes to reflect the specific type of marble you want to replicate.

